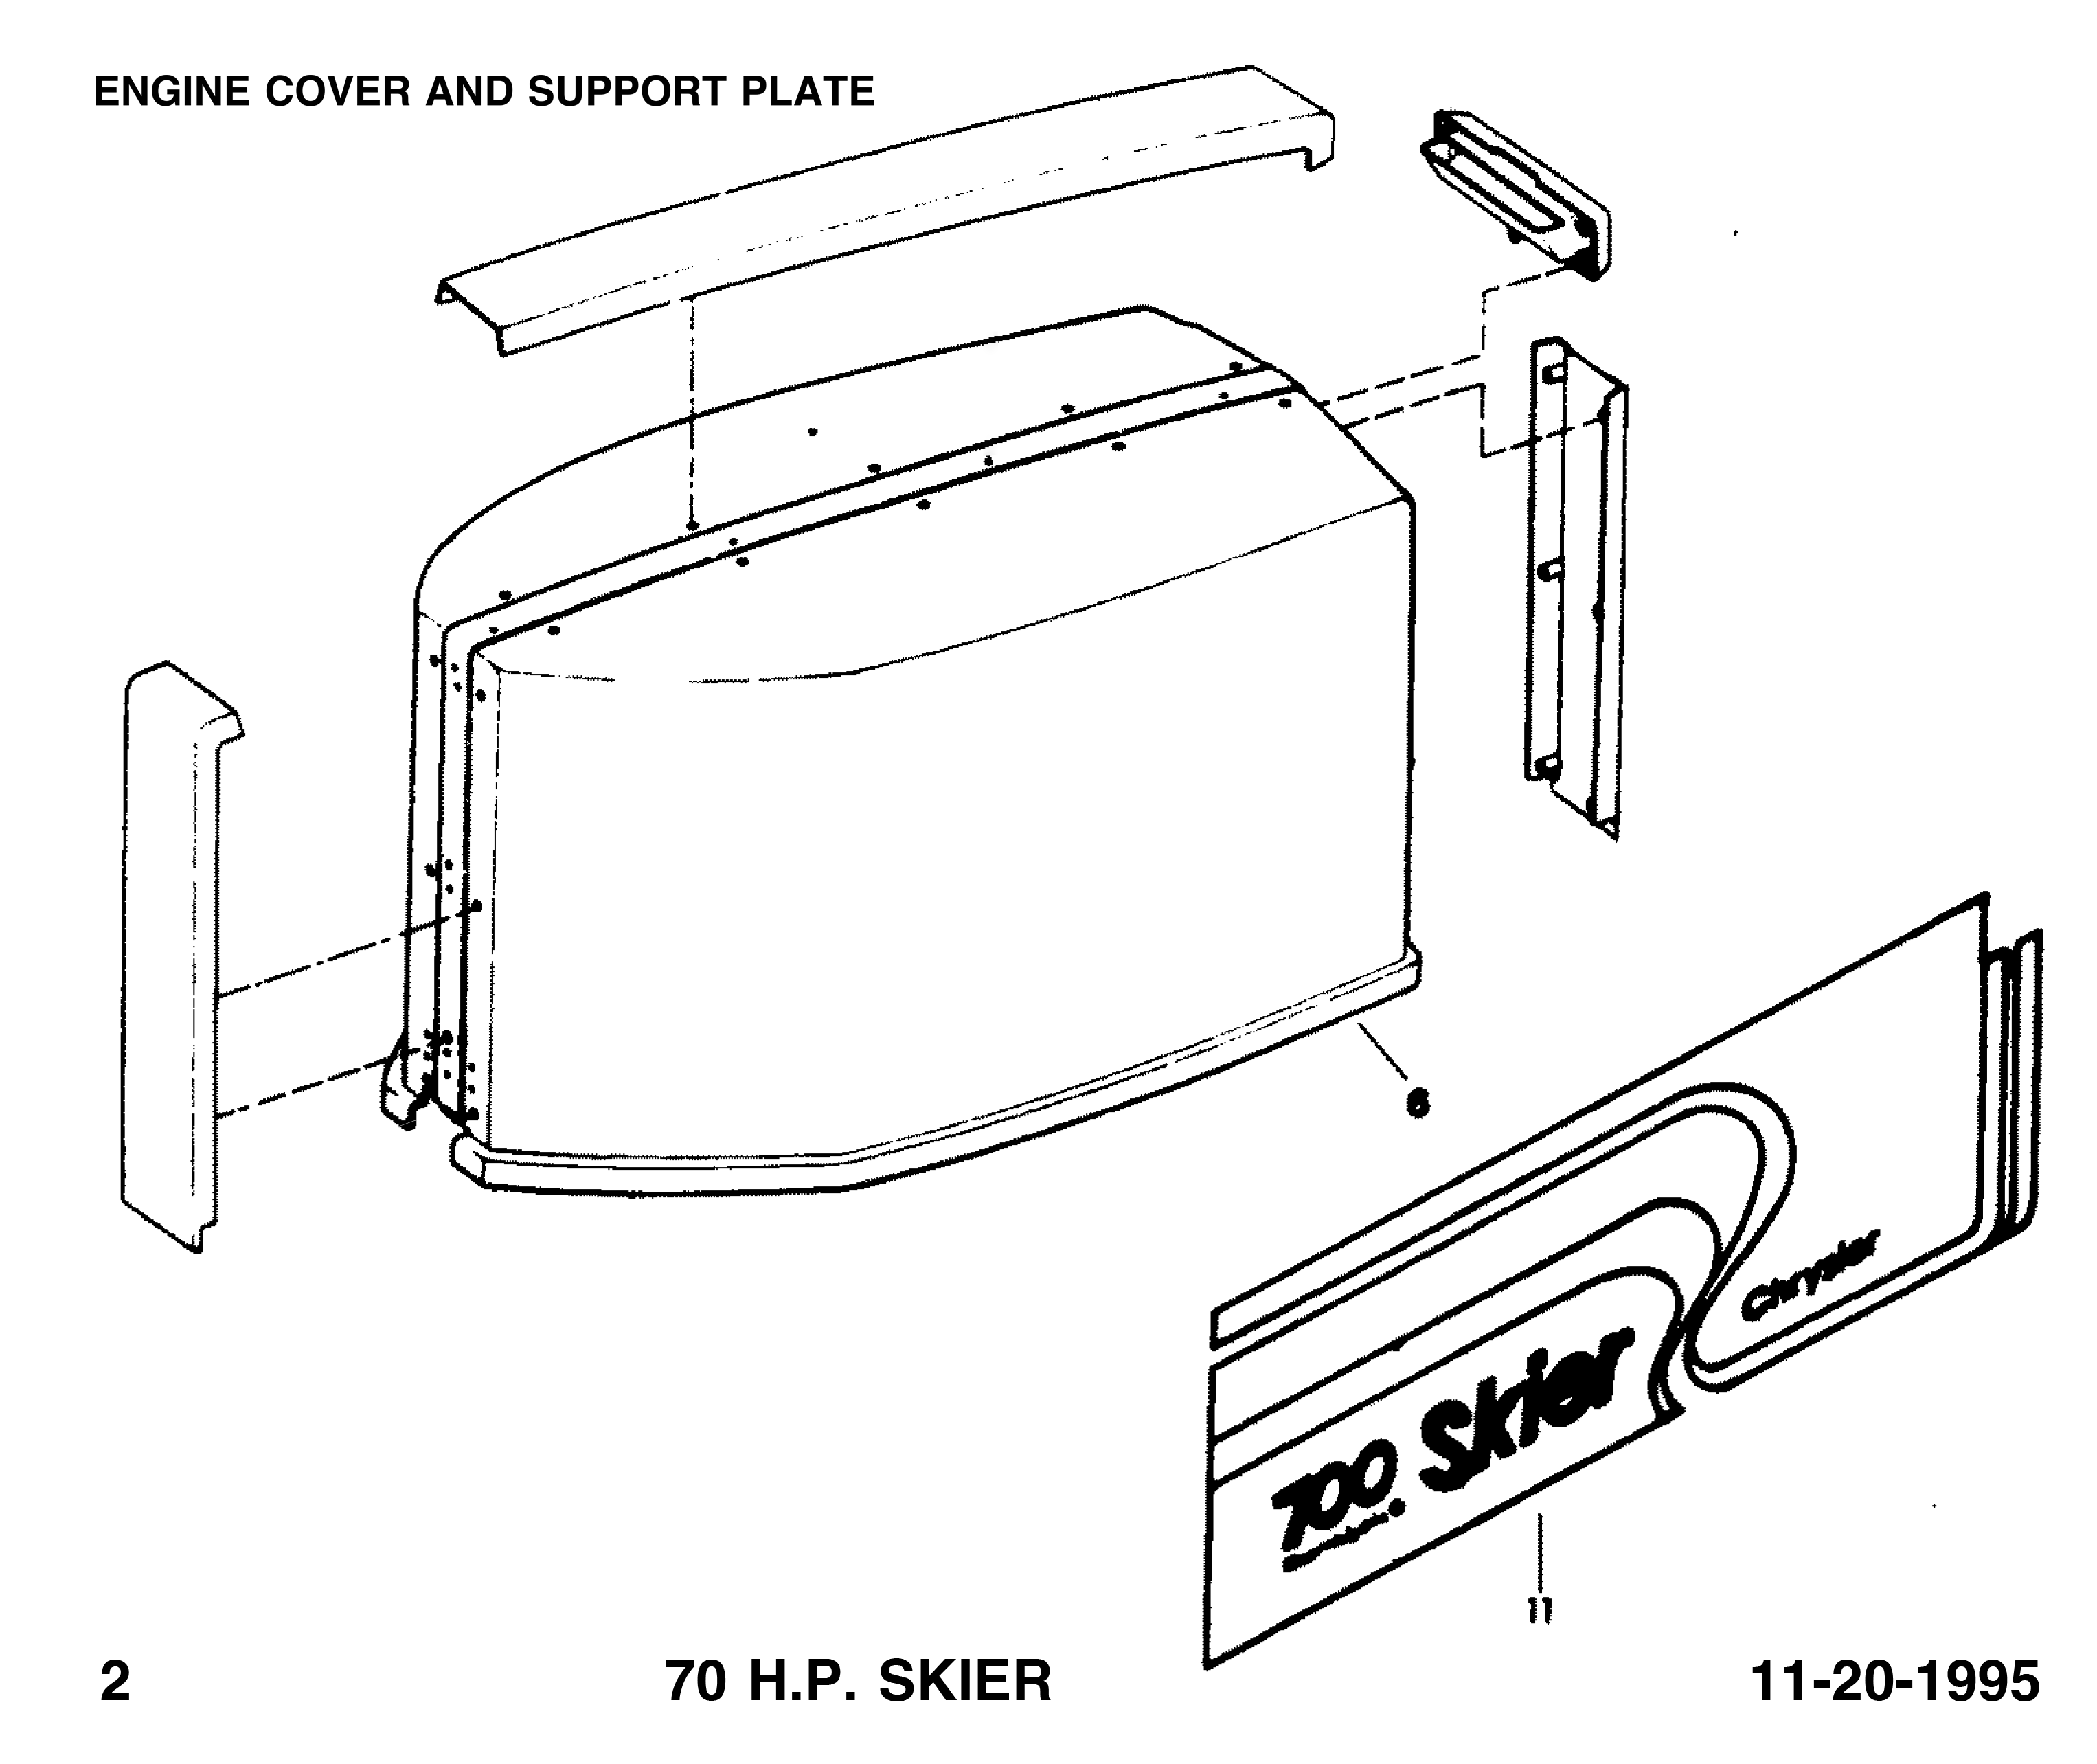
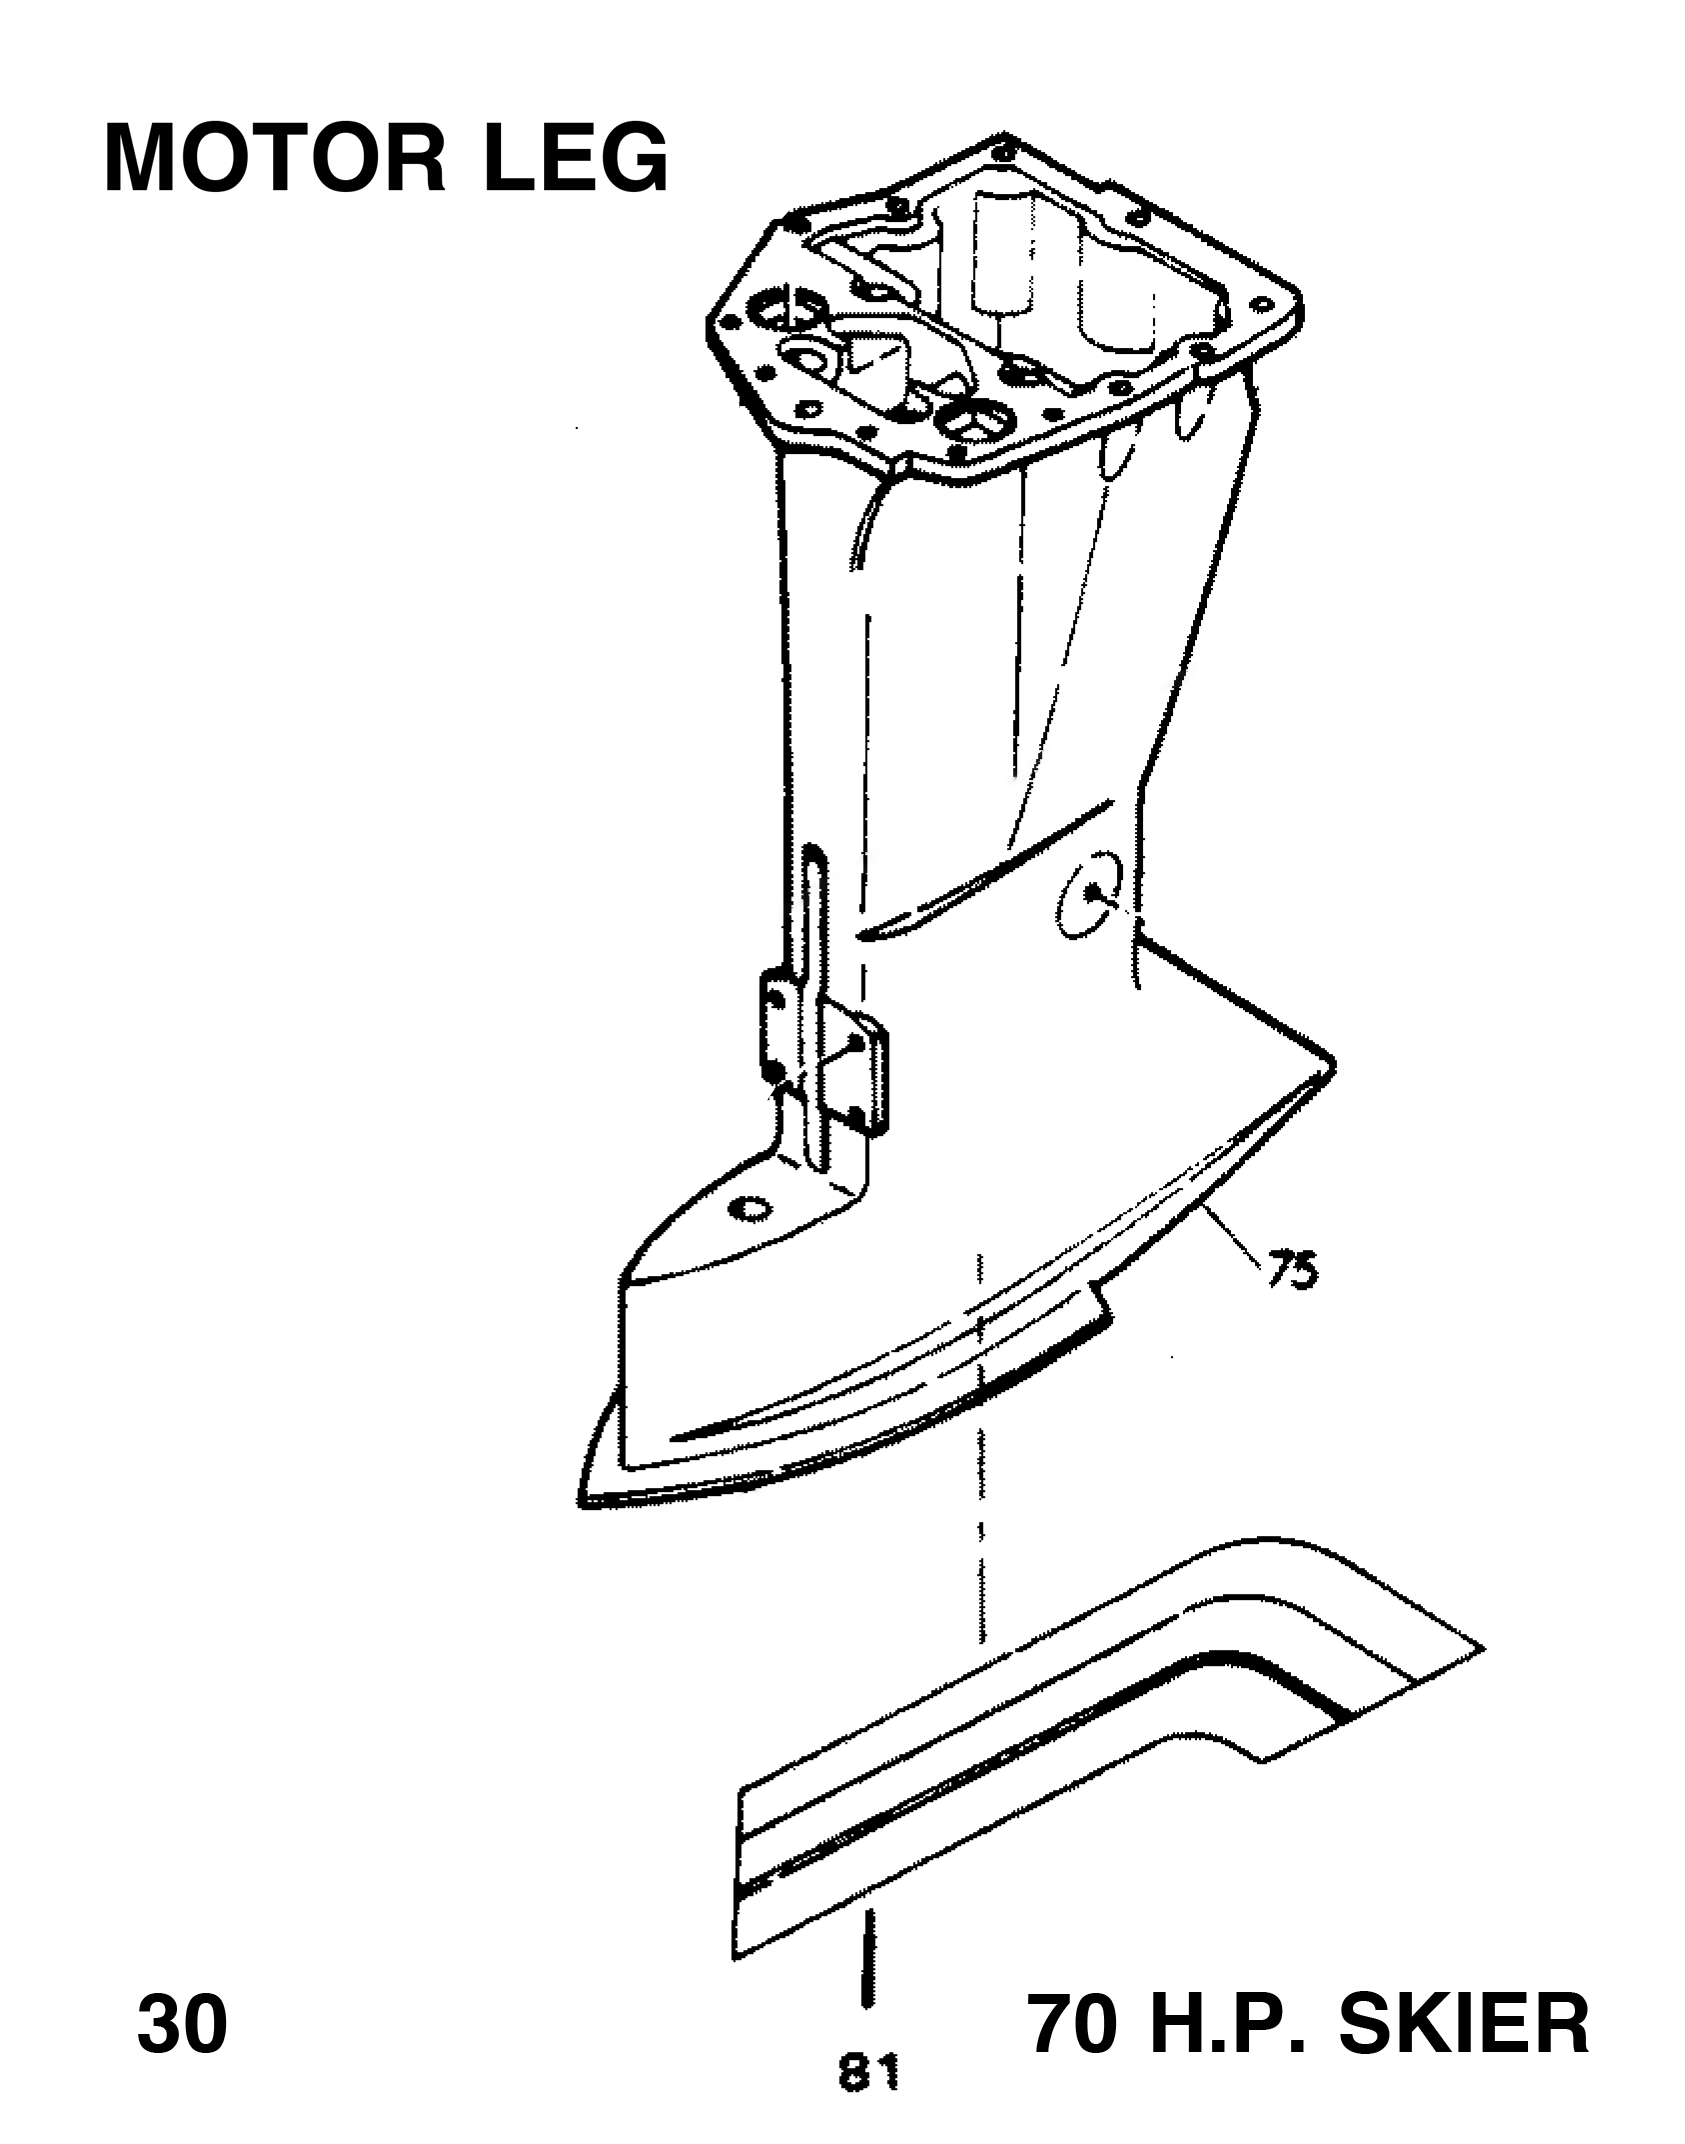
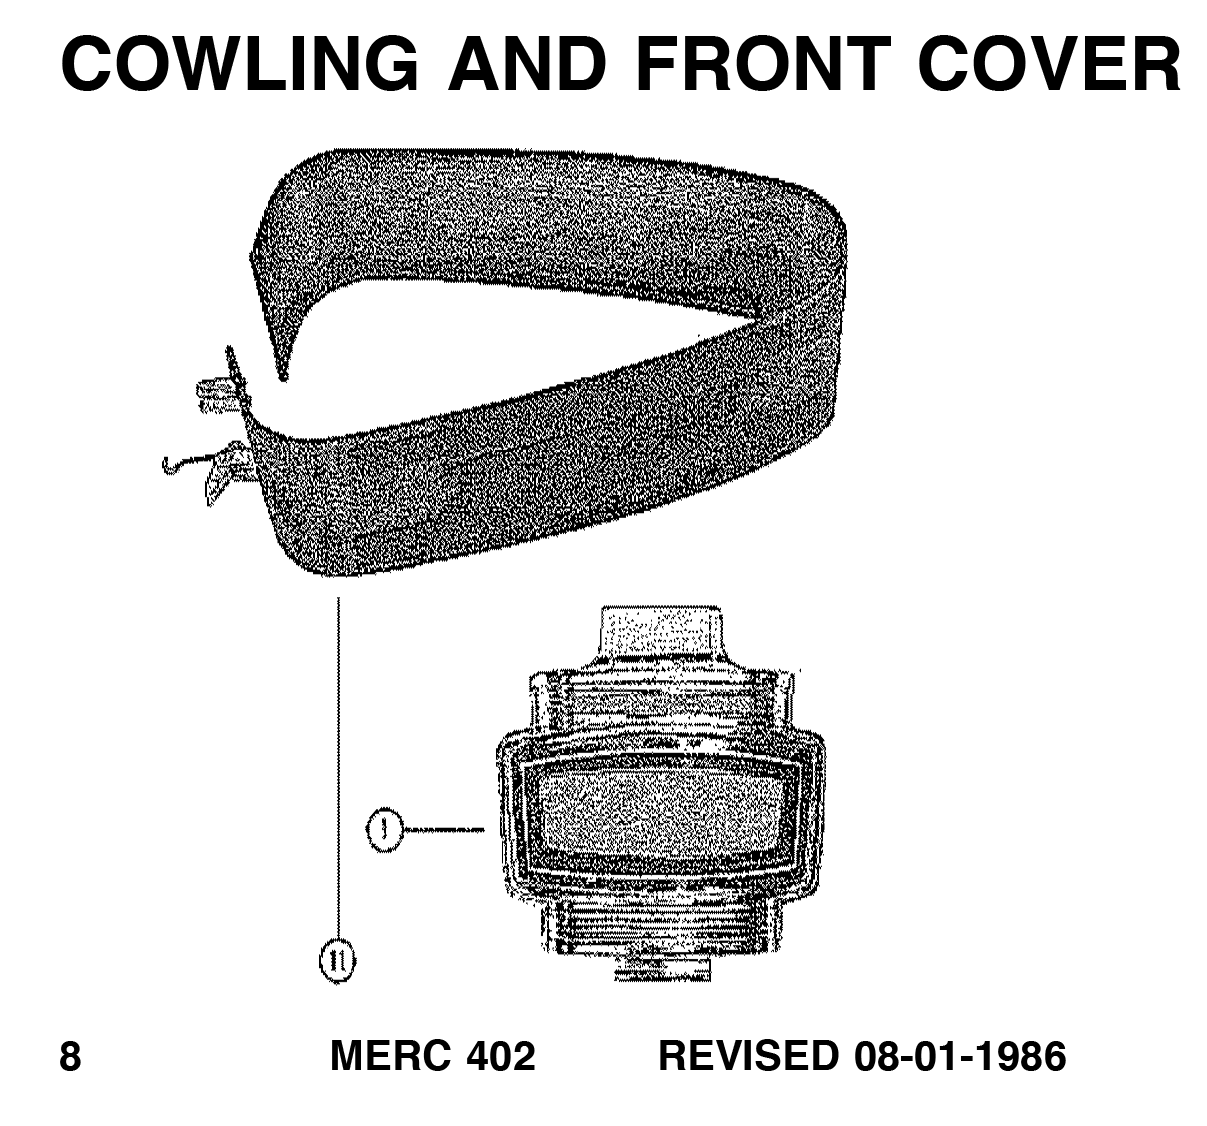
Outboard decal Replicas - Find them here!

Outboard  2 Stroke Carb  6 / 8 / 9.8 / 9.9 HP (2 CYL.) (International) SEAPRO - Cat.# 90-889473006 

 > Mercury Marine [Updated: May. 20, 2023] > Outboard > 2 Stroke Carb > 9.9 (2 CYL.) (International) > [0N260037 & Up] - International - Cat.# 90-889473006

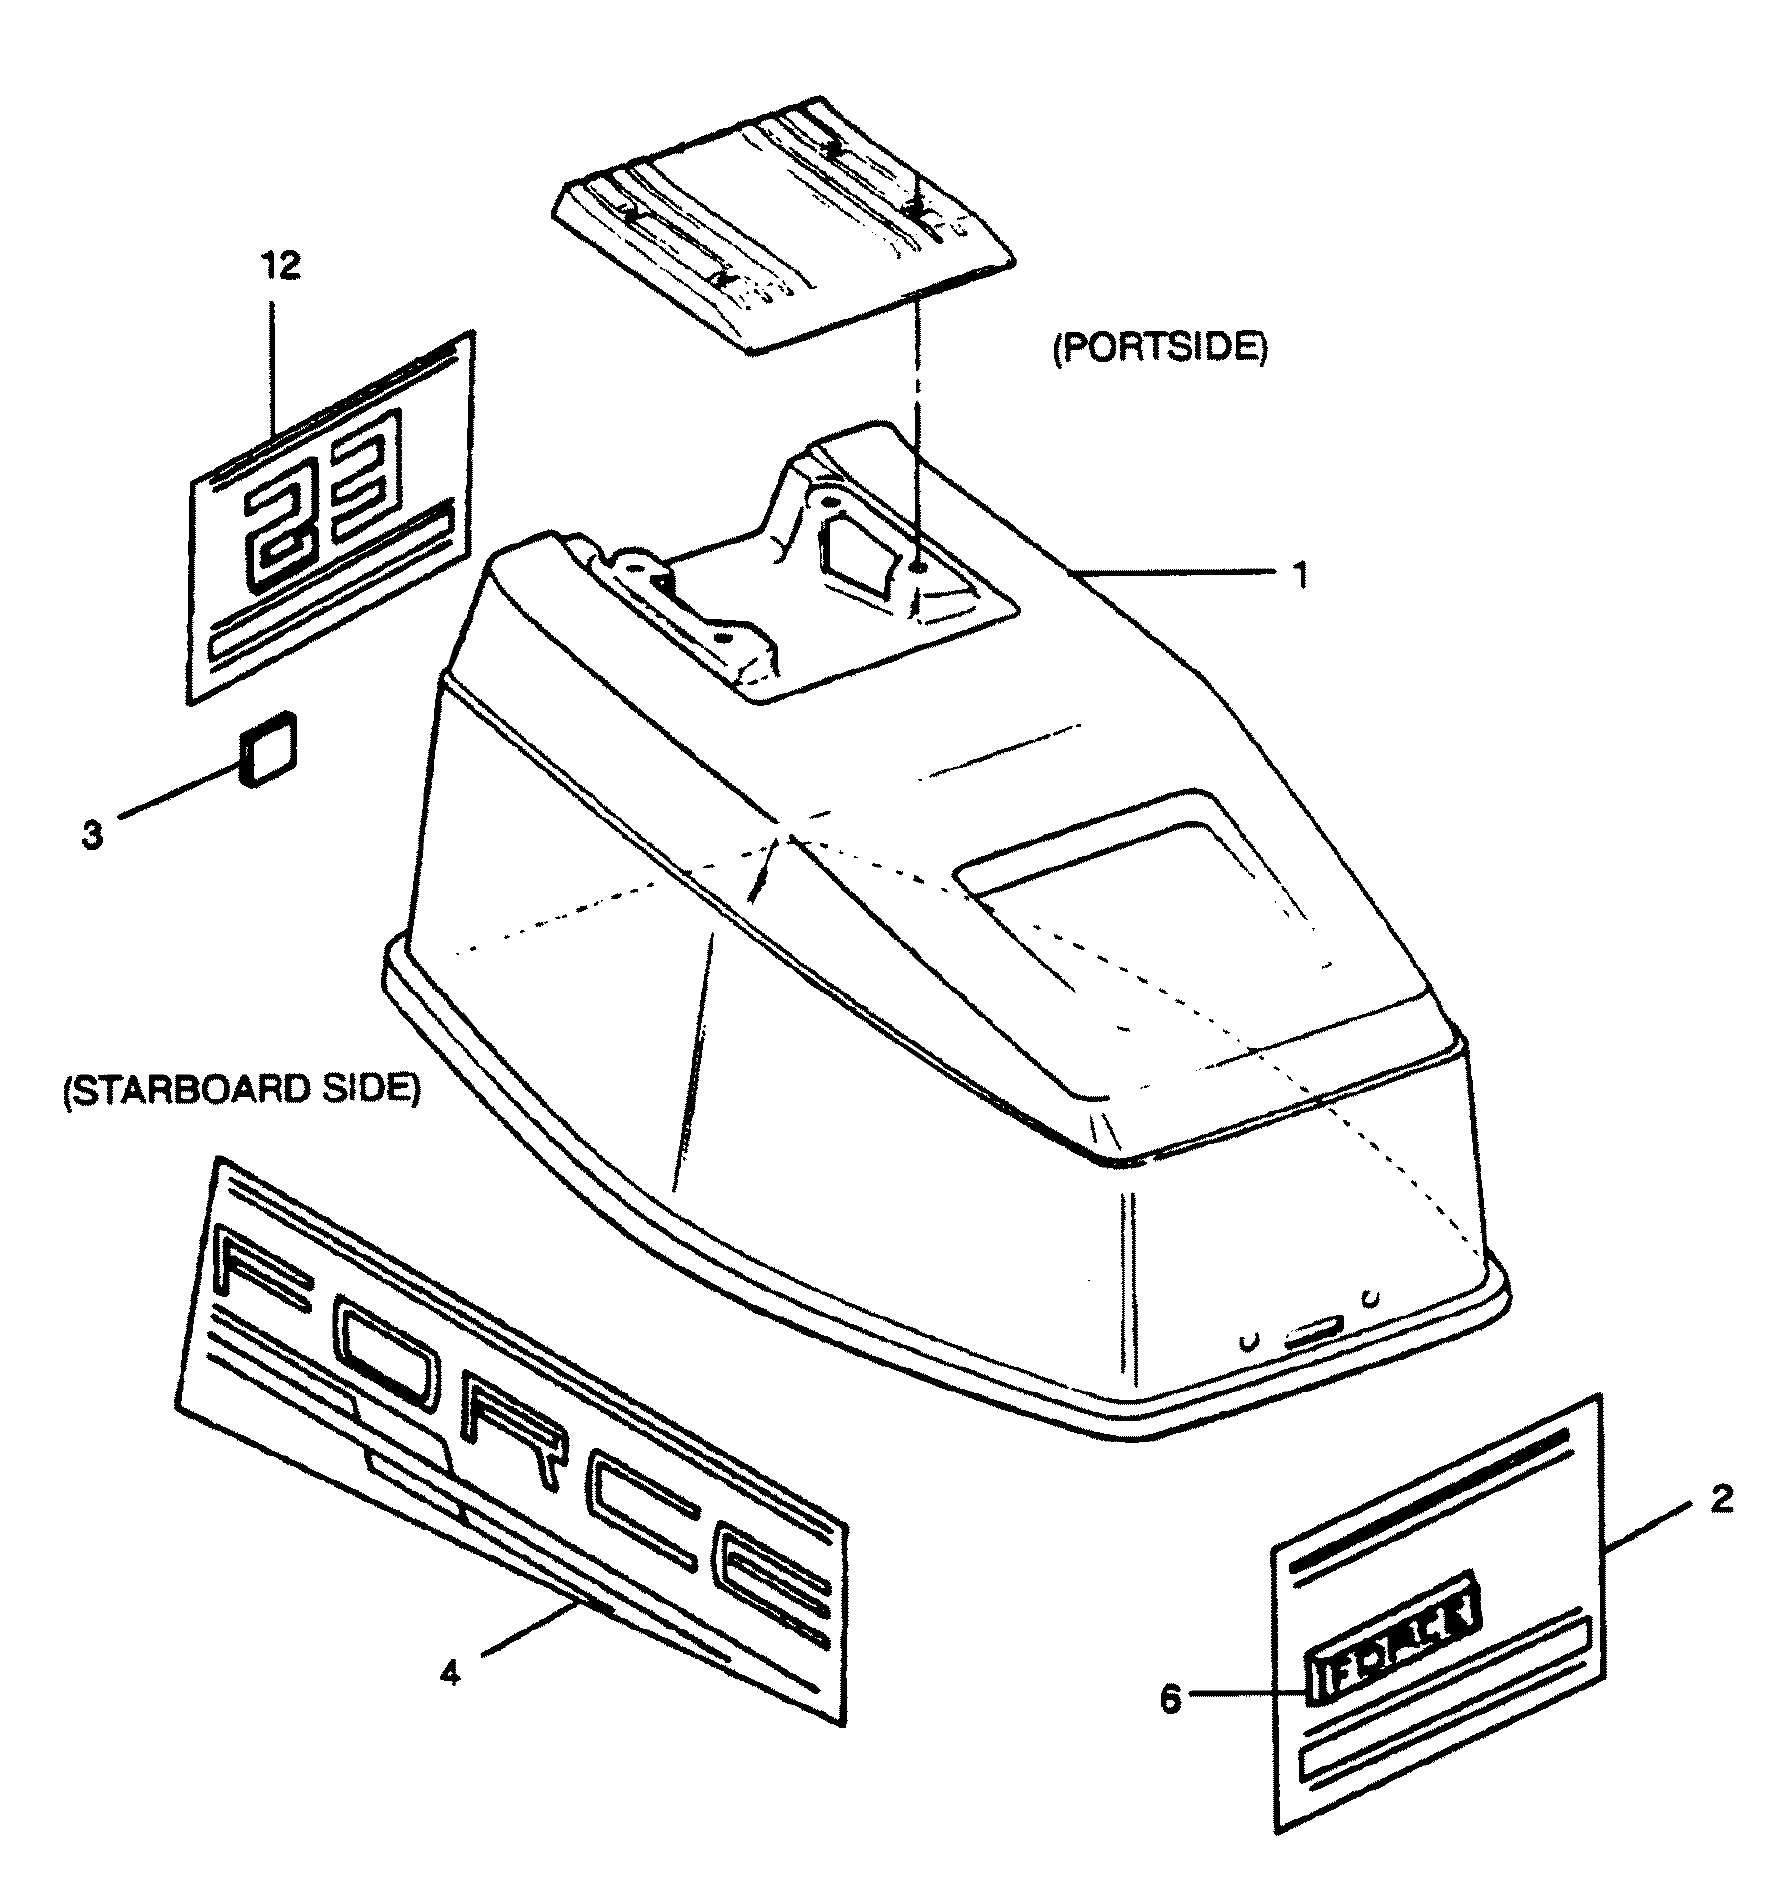
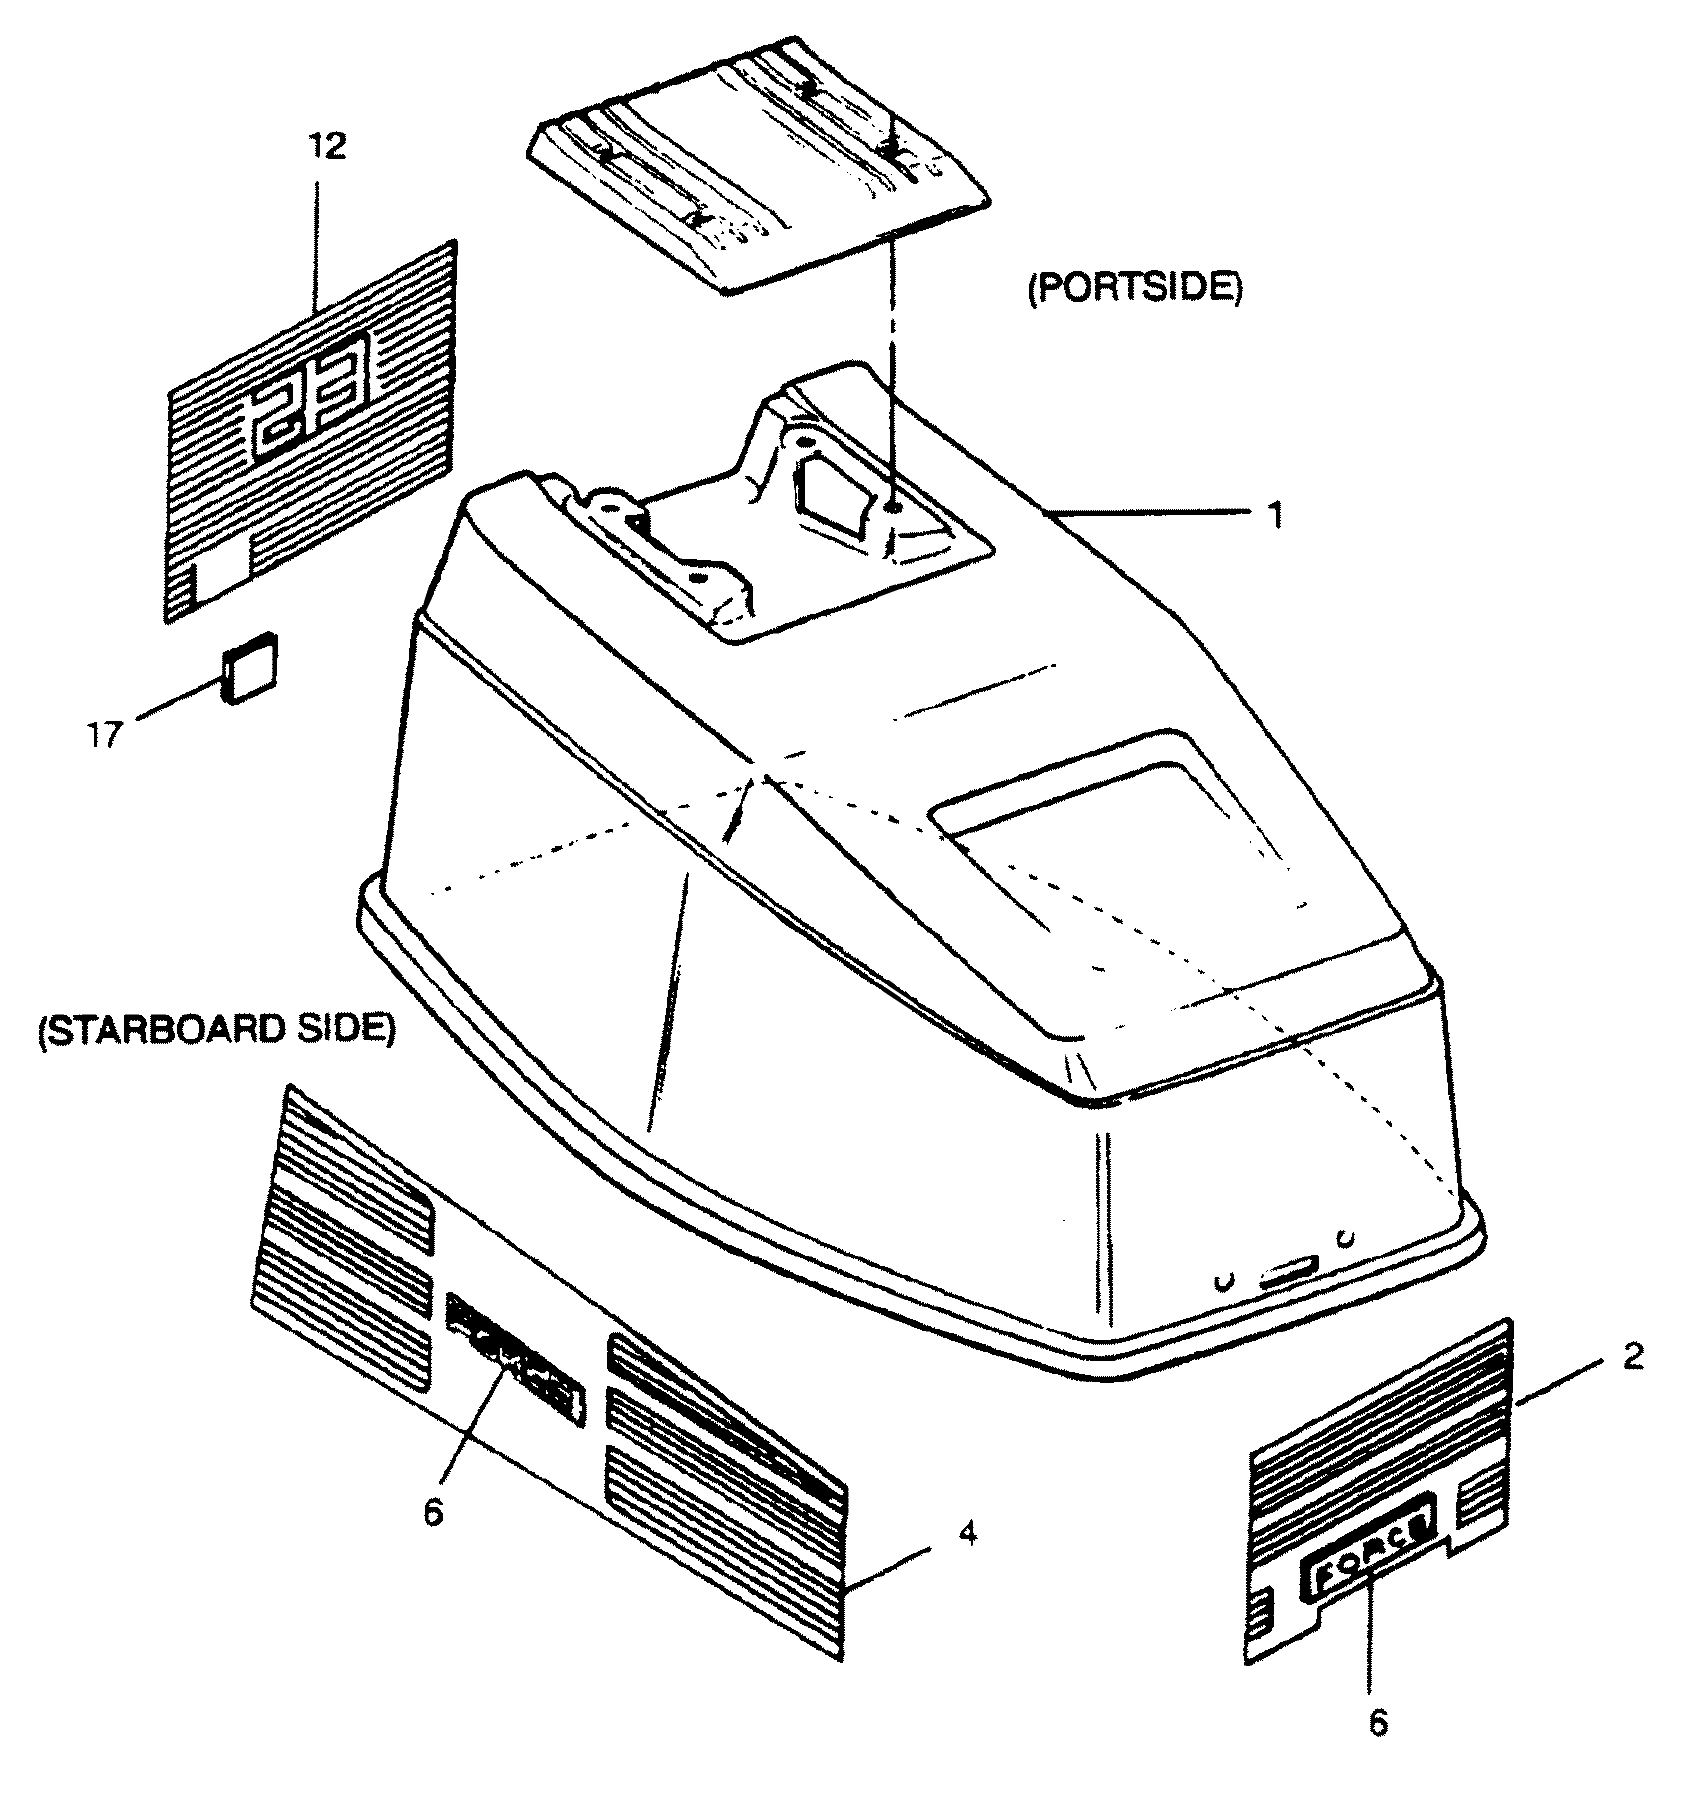
DECALS TOP COWL OUTBOARD 6 / 8 / 9.8 / 9.9 (2 CYL.) (INTERNATIONAL)  
[0N260037 & Up] - International

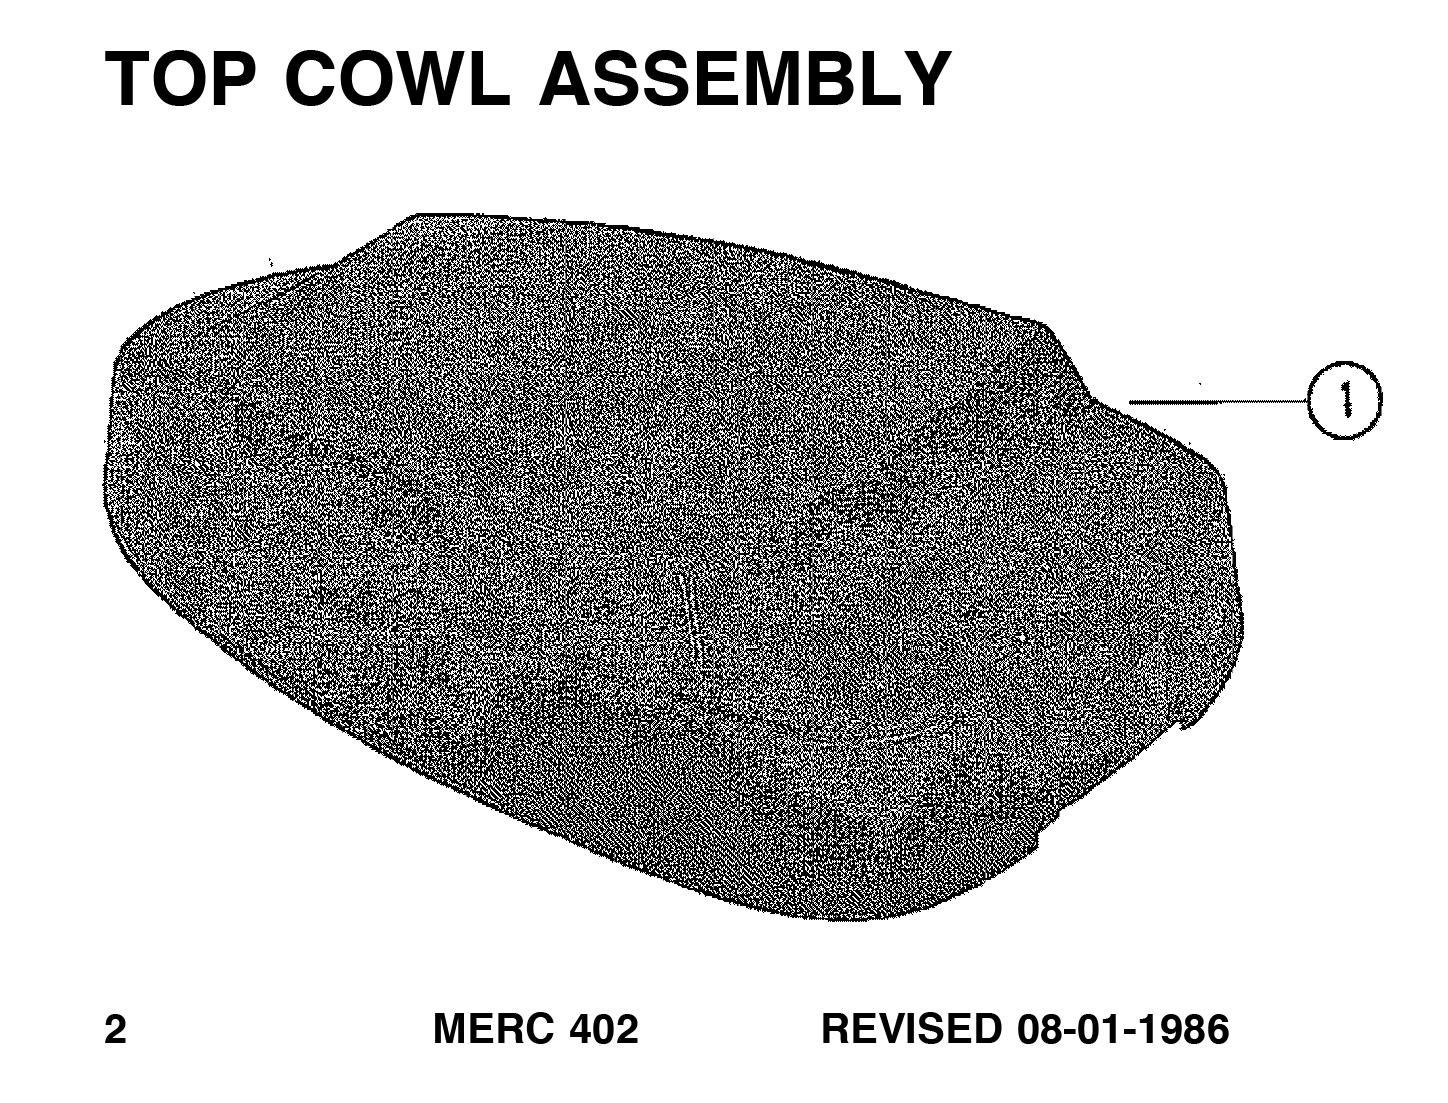
Cowling Diagram 17251

16) 0114 803792A08 TOP COWL ASSEMBLY No decals (Black)
16) 0114 803792A09 TOP COWL ASSEMBLY No decals (Silver)

803792A08, 803792A09,
803792A08 803792A09

Decals Top Cowl Diagram 68593

1) 0098 8M0097222 DECAL SET Mercury 6/8/9.9 HP [0N239570] & Up
- 0037 8592711 DECAL M-Icon [0N239569] & Below
- 0037 8M0055007 DECAL Mercury, Port 6/8 HP [0N239569] & Below
- 0037 8M0055010 DECAL Mercury, Starboard 6/8 HP [0N239569] & Below
- 0037 897505002 DECAL Rear 6 Mercury [0N239569] & Below
- 0037 897505003 DECAL Rear 8 Mercury [0N239569] & Below
- 0037 804994A00 DECAL SET SeaPro [0N239569] & Below
- 009) 8M0098708 DECAL SET SeaPro [0N239570] & Up
- 0037 889471A03 DECAL SET Mariner 6
- 0037 889472A03 DECAL SET Mariner 8

Remote Controls and Components - Panel Mount - Mechanical > [1994 & Up] - Cat.# 90-8M0125570 - Commander Classic (88150A27 - A32)

 > Mercury Marine [Updated: Jun. 4, 2023] > Accessories > Remote Controls and Components > Panel Mount > Mechanical > [1994 & Up] - Cat.# 90-8M0125570 > Commander Classic (88150A27 - A32)


88150A27 REMOTE CONTROL (Outboard) 
88150A28 REMOTE CONTROL (Mercruiser) 
88150A29 REMOTE CONTROL (Non Trim) 
88150A30 REMOTE CONTROL (Bayliner Outboard) 
88150A31 REMOTE CONTROL (Bayliner Mercruiser) 
88150A32 REMOTE CONTROL (Baylinder Non Trim) 

8) 0037 8176961 DECAL
9) 0037 817715 DECAL Port
25) 0037 817695 DECAL (Throttle)


This Mercury 8176961 DECAL fits the following models and components:

Mercury Rigging Parts & Accessories Remote Controls and Components Panel Mount Control Box Commander Classic (88150A27 - A32)
Mercury Sportjet Rigging Parts & Accessories Remote Controls and Components Panel Mount Control Box Commander Classic (88150A27 - A32)
Mercruiser Rigging Parts & Accessories Remote Controls and Components Panel Mount Control Box Commander Classic (88150A27 - A32)
Force Rigging Parts & Accessories Remote Controls and Components Panel Mount Control Box Commander Classic (88150A27 - A32)


This Mercury 817715 DECAL-PORT fits the following models and components:

Mercury Rigging Parts & Accessories Remote Controls and Components Panel Mount Control Box Commander Classic (88150A27 - A32)
Mercury Sportjet Rigging Parts & Accessories Remote Controls and Components Panel Mount Control Box Commander Classic (88150A27 - A32)
Mercruiser Rigging Parts & Accessories Remote Controls and Components Panel Mount Control Box Commander Classic (88150A27 - A32)
Force Rigging Parts & Accessories Remote Controls and Components Panel Mount Control Box Commander Classic (88150A27 - A32)


This Mercury 817695 DECAL fits the following models and components:

Mercury Rigging Parts & Accessories Remote Controls and Components Panel Mount Control Box Commander Classic (88150A27 - A32)
Mercury Sportjet Rigging Parts & Accessories Remote Controls and Components Panel Mount Control Box Commander Classic (88150A27 - A32)
Mercruiser Rigging Parts & Accessories Remote Controls and Components Panel Mount Control Box Commander Classic (88150A27 - A32)
Force Rigging Parts & Accessories Remote Controls and Components Panel Mount Control Box Commander Classic (88150A27 - A32)

Avator Outboard Electric - 7.5e 1KWH - 1 HP Cat.# 90-8M0204342

 > Mercury Marine [Updated: May. 20, 2023] > Outboard > Electric > 7.5e 1KWH 1 HP > [1Q000130 & Up] - Cat.# 90-8M0204342

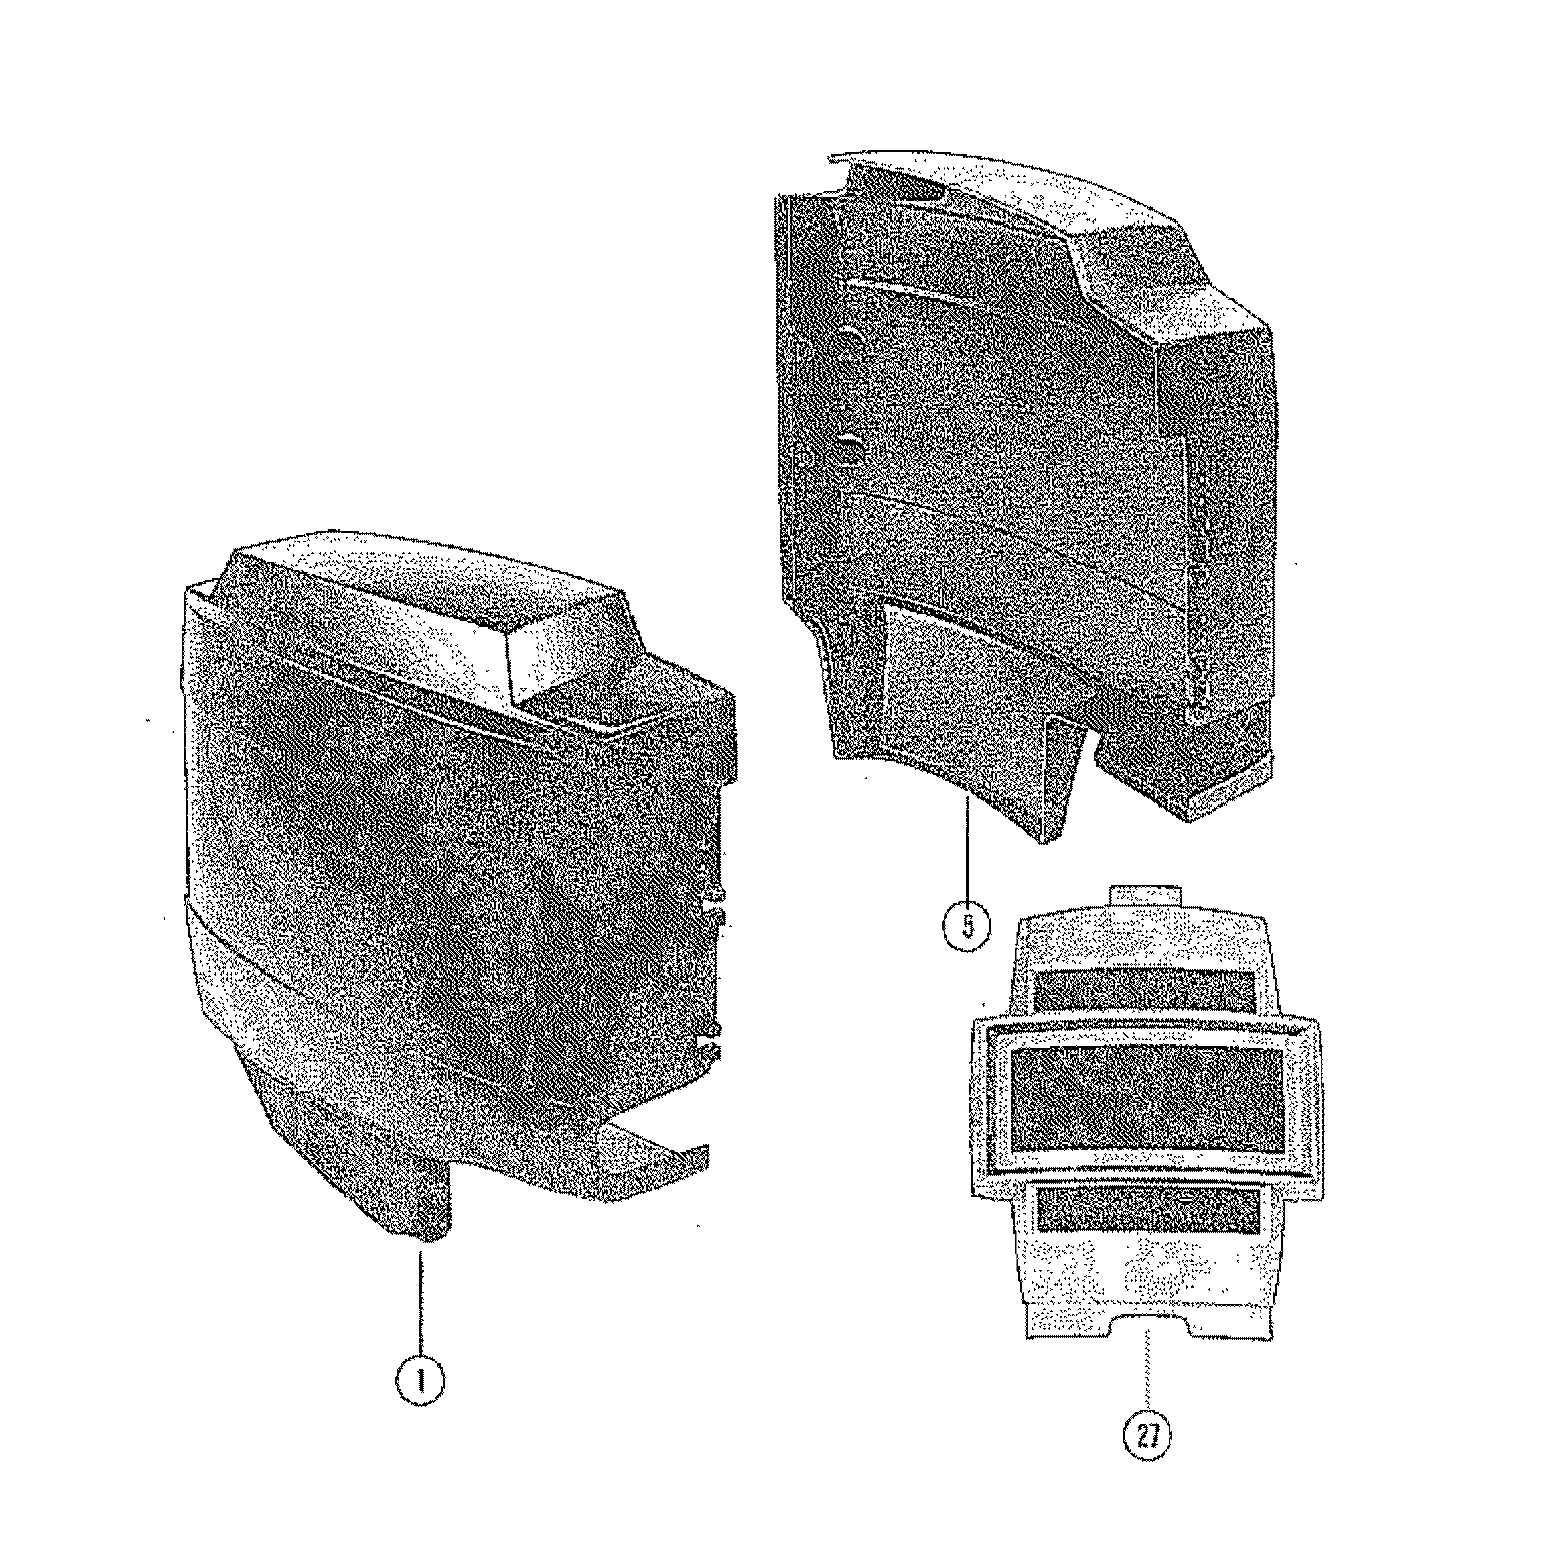
COWL DIAGRAM 74850

1) 0100 8M0204475 COWL SIDE Starboard, Mercury Decaled
1) 0100 8M0204477 COWL SIDE Port, Mercury Decaled
7) 0100 8M0204478 COWL REAR Avator Decaled
10) 0100 8M0204488 COWL FRONT Upper Remote Control Models
10) 0100 8M0204485 COWL FRONT Upper Tiller Models
15) 0100 8M0204479 COWL FRONT Lower
16) 0100 8M0204480 COWL HOOD
26) 0037 8M0214894 DECAL SET Instruction Set contains Battery Install and Weather Cap Decal
27) 0037 8M0214895 DECAL SET Stripes Set contains Top and Lower Strip


Decal Sets Diagram 74851
v103705115 

1) 0037 8M0214894 DECAL SET Instruction
1 NSS NOT SOLD SEPARATE Battery Installation decal 
1 NSS NOT SOLD SEPARATE Weather Cap decal 
1 NSS NOT SOLD SEPARATE Attach Lanyard decal 
1 NSS NOT SOLD SEPARATE Read Manual decal 
1 NSS NOT SOLD SEPARATE Steering Friction decal (Tiller Models Only)
2) 0037 8M0214895 DECAL SET Stripes
2 NSS NOT SOLD SEPARATE Rear, Top Stripe decal 
2 NSS NOT SOLD SEPARATE Rear, Bottom Stripe decal 
2 NSS NOT SOLD SEPARATE Battery Stripe decal 
3) 0037 8M0215980 DECAL SET Transom
3 NSS NOT SOLD SEPARATE Lock/Unlock Trim decal 
3 NSS NOT SOLD SEPARATE Warning Secure Transom decal
3 NSS NOT SOLD SEPARATE Caution Trailering decal 


Subcategories

  • Mercury-Mariner-Tracker-Force Outboard Decals

    DECAL DRY APPLICATION

    IMPORTANT: This document guides our dealers, boatbuilders, and company service personnel in the proper installation or service of our products. If you have not been trained in the recommended servicing or installation procedures for these or similar Mercury Marine products, have the work performed by an authorized Mercury Marine dealer technician. Improper installation or servicing of the Mercury product could result in damage to the product or personal injury to those installing or operating the product.
    NOTE:After completing installation, place these instructions with the product for the owner's future use.
    IMPORTANT: This decal set must be applied dry. Do not use a soap and water mixture to apply this decal set.

    Tools, Materials, and Surface Requirements

    Tools and Materials

    • Decal application squeegee (3M® Applicator PA 1 Gold - recommended)
    • Air release tool (3M Air Release Tool 391x) or a straight pin - used to remove trapped air bubbles
    • Clean microfiber towel (Meguiar’s® Supreme Shine Microfiber Towel - recommended)
    • Spray bottles and labels for each cleaning solution
    • Cleaning solution:
      a. Liquid dishwashing soap
      b. Isopropyl alcohol
      IMPORTANT: Identify each spray bottle of cleaning solution with a label.

    Surface Requirements

    Special attention is required when applying decals to certain surfaces, including primed, painted, and certain plastics. All
    painted surfaces must be cured per the manufacturer's requirements. When applying decals to plastic surfaces, allow proper
    time for out gassing.

    Surface Preparation

    Application Temperature

    Apply the decal when the surface and ambient air temperature is between 16-373 °C (61-99 °F).
    NOTE: Applying the decal near the minimum temperature specification, the adhesive bond will develop more slowly than temperature in the mid to upper specification range.

    Step One General Cleaning

    IMPORTANT: Do not shortcut the cleaning process. All of the surfaces are considered contaminated prior to a thorough
    surface cleaning preparation.

    1. Mix a solution of 29.5 cc (1 fl oz) liquid dishwashing detergent with 3.7 Liter (4 US qt) of warm water.
    2. Rinse cowl with clean water.
    3. Dry the cowl with a clean Meguiar‘s Supreme Shine Microfiber Towel.
    4. Avoid detergents or preparations that contain waxes, oils, or lotions.

    Step Two Solvent Cleaning

    1. Mix a solution of isoprooyl alcohol and water to a 1:1 ratio. Store in a spray bottle and identify the solution with a label.
    2. Saturate a clean paper towel with the isopropyl alcohol and water solution.
    3. Wipe the cowl with the saturated towel followed immediately with a lint-free towel before the solution evaporates.
    NOTE: Isopropyl a/coho/ evaporates quickly. You must Wipe the surface immediately after applying the solution.
    4. When the paper towel becomes contaminated with dirt, discard it and use a clean paper towel saturated with the
    isopropyl alcohol and water solution.
    5. Ensure the surface has no contamination and is completely dry.
    6. Start to apply the decals immediately after solvent cleaning.

    Decal Application

    Application Tips

    1. Ensure that the surrounding work area and the surface are properly cleaned to avoid contamination.

    90-8M0143239 eng MARCH 2018       © 2018 Mercury Marine      -     Page 1 / 16

  • Evinrude-Johnson Outboard Decals
  • Nissan-Tohatsu Outboard Decals
  • Yamaha Outboard Decals
  • Suzuki Outboard Decals
  • Honda Outboards